Pho (pronounced "Fuh") is a traditional Vietnamese noodle soup. Made with chicken or, more commonly, beef, the broth is flavored with star anise, cinnamon and cloves, along with charred onion and ginger. A bowl of pho would often contain some meat--chicken, rare or cooked beef, tripe or organ meats--and a good portion of rice noodles.
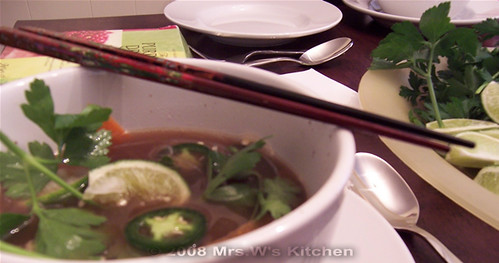
Served piping hot with a variety of add-ins such as herbs, bean sprouts, lime wedges, slices of chili pepper, soy sauce, fiery sriracha hot sauce, hoisin sauce and other condiments, pho is treat for anyone who wants to customize the spiciness of their food.
When I lived in Atlanta, my coworkers introduced me to Pho--specifically, Pho 79 Restaurant at 4166 Buford Highway, NE, Atlanta. Take note, however--I hear they've changed locations and moved all the way to Dunwoody Point to 5000 Winters Chapel Road. The owner is a really friendly woman who offers great service, huge portions, and reasonable prices.
It became a comfort food for me. When it was drizzly and wet, it was a day for pho. When it was snowing, or windy, it was a good day for pho.
I decided to try making some pho and, while not 100% authentic, it satisfied the craving. If anyone reading is a pho expert, please do let me know what I can do to make it better! (Besides actually using a matching set of chopsticks--I just grabbed!)

Beef Pho
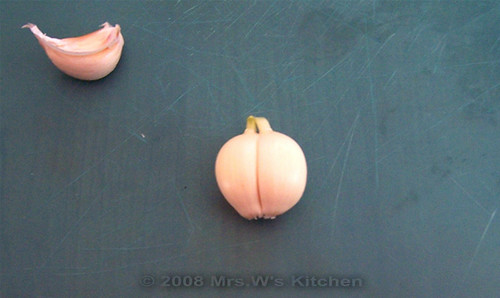
serves 62 medium onions, unpeeled and cut in half
1 thumb-sized knob of ginger, unpeeled and cut in half
1 pound bone-in beef pieces (I used 1/2 pound neck bones and 1/2 pound shanks)
6 to 8 cups water
1 carrot, unpeeled and cut in large chunks
about 8 cloves
about 3 star anise
2 tablespoons fish sauce (nam pla)
1-inch piece cinnamon stick (preferably saigon cinnamon; I used regular old cinnamon, which I think is actually cassia)
2 tablespoons salt
1/2 pound sliced steak or brisket, sliced, if desired (this depends on how much meat you are able to get from the pieces you use for the broth)
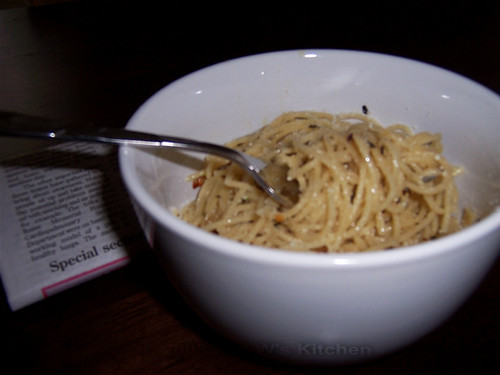
1 5-ounce package rice noodles (I used bean thread noodles because I had some)
hot water
1 lime, cut into wedges
1 jalapeno pepper, sliced with seeds intact
2 cups mung bean sprouts
sliced fresh green onions
thin strips of carrot (okay, this isn't traditional, but I thought it added some lovely color; I cut super-thin strips using a potato peeler)
cilantro
parsley
basil (I didn't have any)
other vegetables, as desired
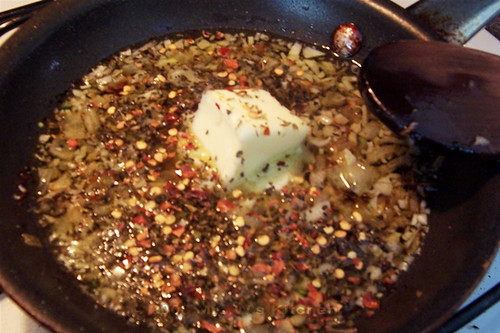
Place onions and ginger cut-side up on a baking sheet or piece of foil. Set under the broil for a few minutes to lightly char. Transfer to a crock pot, and add beef bones/pieces, water, carrot, cloves, star anise, fish sauce, cinnamon and salt. Cook on low for 6 hours, stirring occasionally.
Cool broth and refrigerate overnight.
In the morning, remove fat solids that are on top. Pour into a colander that's set into a large bowl to catch the broth. Return broth to crock pot and set to high. (If you want a clearer broth you can strain it through a cheesecloth-lined wire mesh strainer... I didn't bother with that step.) Correct seasoning with salt, if needed.
Go through strained meat pieces and chop any good meat and add to pot. Discard bones, fatty bits and used-up onions, carrot and spices.
If you're using additional sliced beef, add to broth about 20 minutes before you want to eat. Pour hot water over dry noodles and rest 20 minutes, or until soft.
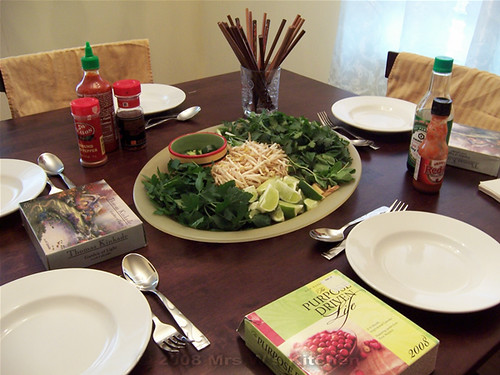
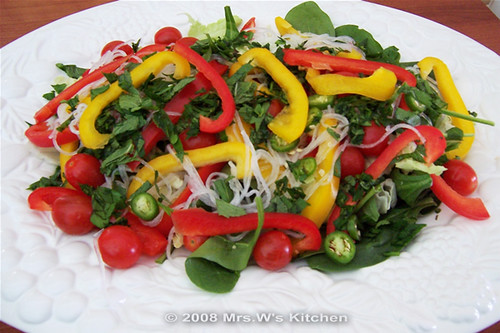
Arrange a platter with lime wedges, jalapeno slices, bean sprouts, green onions, carrot strips, cilantro, parsley and basil. Place chopsticks, hot sauce and hoisin sauce on table.
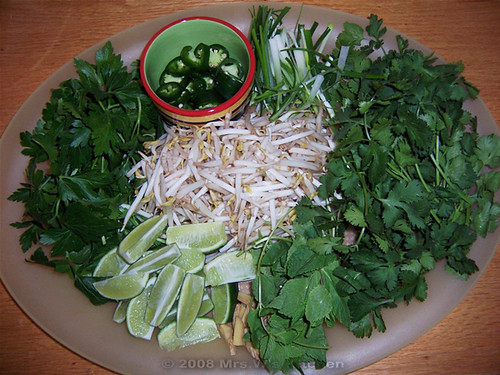 Pictured above, clockwise from top: jalapeno slices, vertically sliced green onion, cilantro, mint, fresh ginger slices, lime wedges, parsley; mung bean sprouts at center.
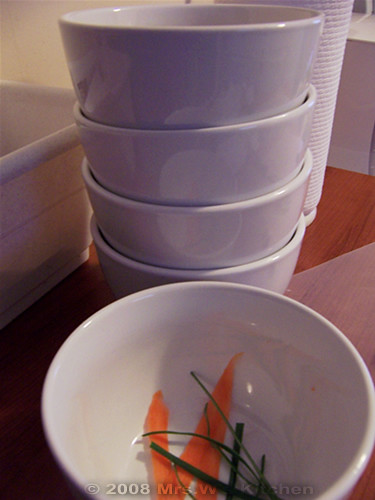
To serve, place a few pieces of green onion and a few strips of carrot in bowl; add noodles and top with hot broth and meat. Invite guests to add desired items to their soup bowls and enjoy.
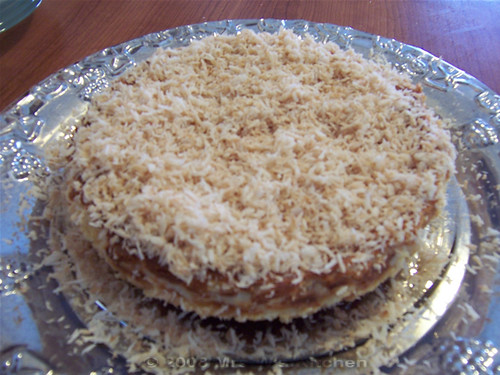
After such a complicated--though not suffocatingly filling--lunch, I served a simple tray of miniature cookies in lemon, chocolate chip and almond. Sugar-free, of course.

This was a really fun meal to serve to my friends--they all seemed to enjoy it.


