Showing posts with label cheese. Show all posts

Monday, November 10, 2008

Easy Cheesy Gratin in an Acorn Squash

I finally got around to trying Ruch Reichl's Pumpkin Soup recipe recommended by Michele of Fine Furious Life.

Wow.
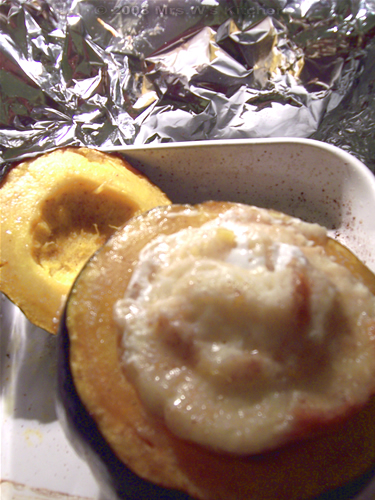

Not a soup at all, this is really a gratin baked inside a hollowed-out acorn squash. Layers of toasted day-old french bread cubes were layered with swiss cheese that I had tossed with a little flour, and milk was poured over before baking.


The squash was then baked with it's lid on until it was very tender. The filling was very impressive--it puffed up beautifully!

Even more of a surprise was the flavor. I mean, who really expects such ingredients to come together so deliciously? The sweet, tender squash flesh was a perfect counterpoint to the soft, cheesy interior that was lightly dusted with white pepper and nutmeg. It was almost too easy--anyone could put this baby together, and it's definitely company-worthy.


Easy Cheesy Gratin in an Acorn Squash
based on Ruth Reichl's Pumpkin Soup recipe,
here
serves 4

You can purchase 4 small acorn squash, or buy one larger of some other squash that will hold all the filling--it's completely up to you. I only made this one for the sake of experimentation, and baked the remaining filling in a pie plate--also yummy, but it's so much better with the squash.

1-4 acorn (or other) squash, washed, bottom sliced off, seeds and strings removed (Note: acorn squash are usually flat on top and pointed on the bottom--hence making a "lid" of the bottom; if you use another type of squash that sits flat on it's bottom, obviously remove your lid from the top)
neutral vegetable oil, like canola
1/2 loaf (about 3-4 cups) day-old french bread, cut into cubes and toasted in the oven
1-1/2 cups shredded swiss cheese, gently tossed with 1 tablespoon all-purpose flour
milk
white pepper
nutmeg

1. Oil the interior and exterior of squash and place in a baking dish. Preheat oven to 350*F.

2. Layer some bread crumbs in the bottom of the squash; sprinkle with cheese. Repeat this process until squash cavity is filled, ending with cheese. Carefully pour milk over filling until you see it approaching the top--I stopped at about 1 inch below the top. Dust generously with ground white pepper and several scrapes of nutmeg.

3. Replace squash lid and bake until squash flesh is very soft when poked with the tip of a knife and filling is puffed and golden; you may decide to remove the lid for a light golden color.

4. Cool a good 15 minutes before eating.

This would be a great lunch served with a salad. People with blood sugar issues should beware--this is high-carb with all that bread inside! Be sure to eat this in moderation with lots of veggies & fiber in the same meal.

Wednesday, April 16, 2008

A Cheese Experiment

When I was very little, I remember sliced apple with cheddar, cream cheese spread on graham crackers, and meat-and-cheese platters on New Year's Eve. I remember a child's salad plate made up like a doll head: a canned pear half head with dried fruit facial features and shredded cheddar hair. And of course there are those Italian favorites: lasagne, stuffed manicotti, cannoli and the ever-present mozzarella-laden pizzas produced on every streetcorner in my hometown.

Clearly cheese has been an prominent player in my life.

I never considered making cheese at home. Then I saw Alton Brown talk about making cottage cheese. Then I joined Great Cook's Community, where some members discussed home cheesemaking. So I gave it a little thought, and I borrowed a book from the library.

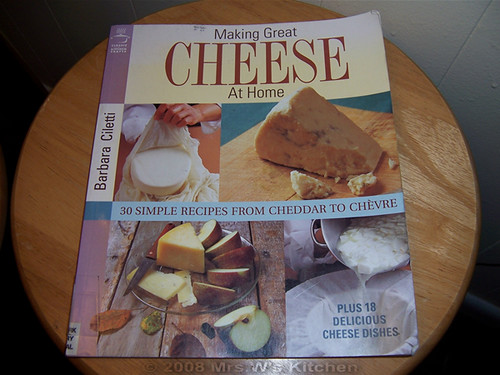
Making Great Cheese at Home by Barbara Ciletti is a great tutorial for the beginner, and a few recipes that don't require any specialized equipment, or ingredients.


Just what I was looking for.

I decided that my first attempt would be Queso Blanco--a very simple recipe. However, instead of making the full recipe for my first try, I cut it in 4--from a gallon to a quart of milk. Here's what I did.

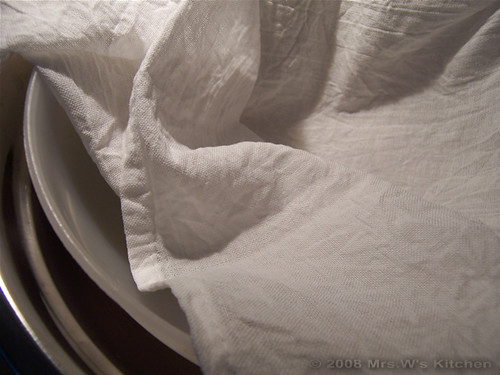
First, I borrowed a candy thermometer. I bought and hand-washed a new, undyed cotton tea towel (from the dollar store). Then I placed a colander in a large stainless bowl, put my new tea towel inside, then sprayed the interior with canola spray.


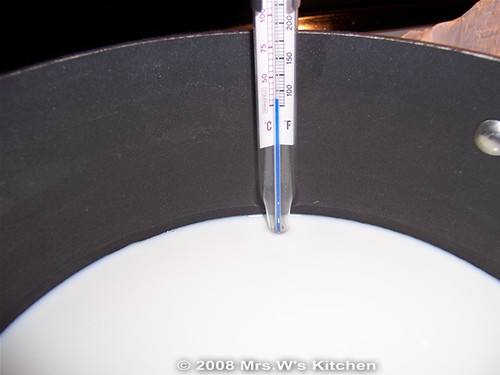
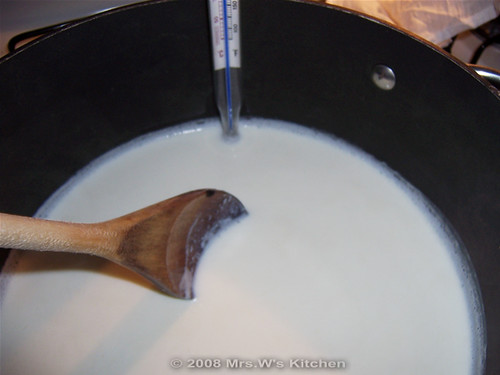
In a regular pot with the candy thermometer clipped to the side, I warmed 1 quart of organic, ultra-pasteurized whole milk over medium-low heat, slowly raising the temperature of the milk to 175*F, stirring frequently.


The stirring is important, and I did see bits of skin forming at the top of the milk. I just stirred them back in. I'm not sure if that was correct--the recipe did not address the milk 'skin.'


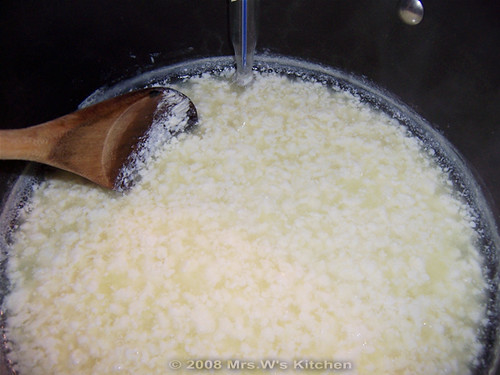
After holding the milk at 175*F for about 10 minutes (still stirring regularly), I slowly stirred in 3 teaspoons of distilled white vinegar. Very few curds formed, even after a good five minutes of stirring. So I added another 3 teaspoons of vinegar and it was like instant magic. The curds came together quickly then.


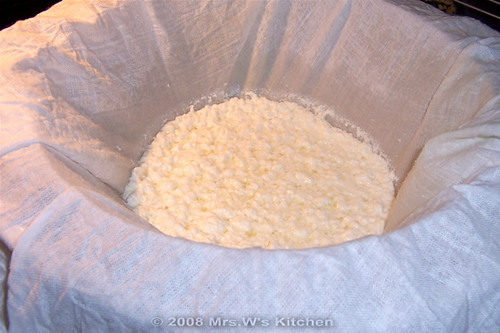
I removed the pot from the heat and poured the whole mess into my prepared cloth-lined colander.


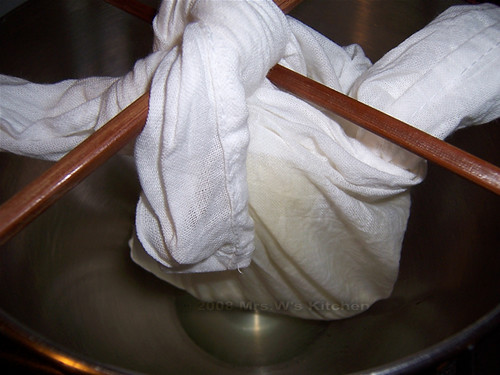
I tied off the cloth into a bag and used chopsticks to support it in a fresh stainless steel bowl for the remaining whey to drain off at room temperature. Meanwhile, I let the whey cool and transferred it to a container in the fridge.


I've read that whey is a good fat-free high-protein liquid to use in recipes--but since I don't make many traditional baked goods (like biscuits or cakes), I'm not really sure what to do with it. Any ideas?

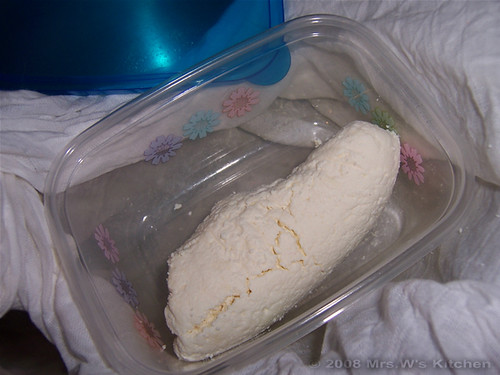
After about 3 hours, the cheese was drained (no more dripping) and fairly dry to the touch. It made about 1-1/2 cups of cheese. However, I wouldn't call it queso blanco. I does not slice at all. It crumbles. It's more of a drained ricotta consistency; the flavor is fresh and sweet.


Here are my thoughts:

  • The milk I used was ultra-pasteurized, so that may have something to do with my needing to double the vinegar.
  • I used white distilled vinegar instead of apple cider vinegar. Could that have turned my project from queso blanco to ricotta?
  • By cutting the recipe to suit a quart of milk instead of a gallon, the weight in the bag for draining may not have been enough to compress the cheese enough to form into a sliceable consistency.
  • Overall, a good first try, with a tasty, albeit unexpected, result.

If anyone reading has some home cheesemaking experience, I'd love to hear from you, along with ideas about what I might have done wrong.

I used this first batch in a lovely berry granita recipe... I'll post that tomorrow! Meanwhile, I'll post the recipe for the queso blanco, as it's written in the book.


Queso Blanco
from Making Great Cheese at Home by Barbara Ciletti

1 gallon whole goat's or cow's milk
1/4 cup cider vinegar

Heat milk gradually over medium-low direct heat (not in a double-boiler) for 20-30 minutes or until it reaches a temperature of 175-180*F. It's important to heat the milk slowly and stir frequently to prevent scortching.

Hold milk temperature at 175-180*F for about 10 minutes, continuing to stir frequently, lowering heat if necessary. Slowly stir in vinegar until milk acidifies and curds form.

Remove pot from heat. In a sterile basin, place a colander lined with enough cheesecloth or butercloth to tie in a knot. Ladle curds into cloth (retain whey for another purpose).

Tie cloth corners to form a bag. Slice chopsticks or a wooden spoon under knot and hang bag inside an empty milk pot to drain for 3 to 5 hours, or until it stops dripping.

Remove cheese from bag and use immediately or refrigerate in a plastic container. Keeps for 1 week. Makes 1 to 1-1/4 pounds cheese.

Monday, January 28, 2008

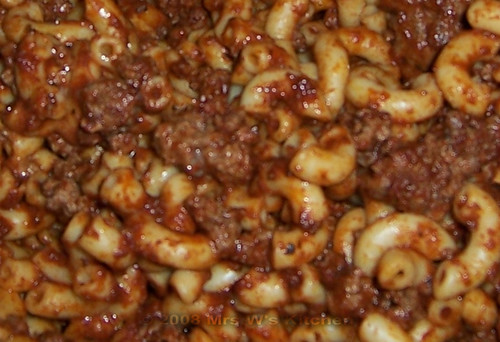
Man Food: Cheesy Chili Mac

I think I'm running out of ideas for man food, because it took me DAYS to decide on this concoction for yesterday's Man Sunday in our basement.

But credit must be given where credit is due: Mr.W asked for it.

Mr.W was raised on prepackaged dinners and convenience foods, and these continue to be his favorite comfort food. Now I like a good box of macaroni-and-cheese dinner, myself, but only on occasion and not as a regular part of my dinner repertoire.

My love would prefer the opposite. But I digress.

As we wrestled for ideas to feed the men, Mr.W said, "How about Chili Mac?" Of course he meant the hamburger helper variety, but I knew I could make it better.

Here it is.


I need not have worried--the men gobbled it up like it was their last supper.


Cheesy Chili Mac
serves 6 hungry men

olive oil
2 to 2-1/2 pounds ground beef (I used 93% lean beef mince)
2 teaspoons kosher salt
2 teaspoons paprika
1 tablespoon dried oregano
1 tablespoon cumin
2/3 cup chili powder
1/2 teaspoon ground cayenne pepper (or to taste, optional)
2 8-ounce cans tomato sauce, plus 4 canfulls (32 ounces total) hot water
1-1/2 pounds elbow macaroni, cooked according to package directions
2 cups shredded cheddar or favorite cheese (I used a colby-jack blend I found on sale)

Set a large pot over a medium flame. When pot is hot, add a drizzle of olive oil and the ground beef; cook, stirring often, to brown.

Stir in salt, paprika, oregano, cumin, chili powder and cayenne. Mix in tomato sauce and water; remove from heat.

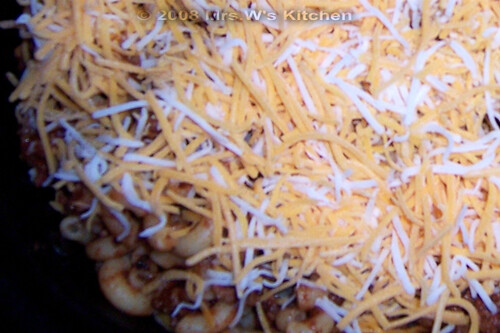
Stir in cooked elbow macaroni and one cup shredded cheese. Top with remaining cheese and bake for 30 minutes at 350*F or until cheese is melty.

What I did: I made up the meat & sauce mixture the night before and put it all into my crock pot insert and refrigerated; the day of the event I cooked up the macaroni, stirred it into the meat-sauce concoction, stirred in the cheese, topped with more cheese and left it on high for a good hour before the men ate.


So to continue planning meals for these men, and of course in honor of the upcoming superbowl, what are some manly, economical foods that you serve?

Thursday, January 17, 2008

Queso de Freir

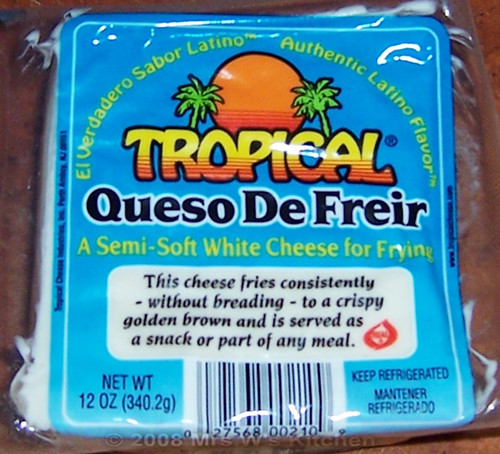
I've been reading about Halloumi cheese for quite some time and have been keeping an eye out for it. As I was meandering my local Super Walmart this week I found this:


I had to buy it--could it mean that I could enjoy a breadless cheese stick?

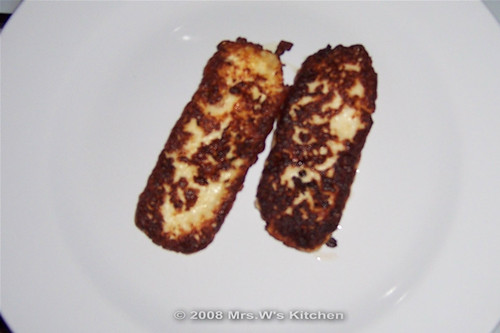
I cut two slabs and fried them in olive oil last night. After learning that a good bit of oil was needed (about 1/4 cup), it fried up crisp.


The taste was good--salty and warm without being gooey. (Though there's something to be said for gooey cheese.) It's not really smooth--sort of a stringy texture. Very soft and moist. I think that frying slices didn't do it justice, because there wasn't a lot of cheese between the crusty sides.

This would be really good cubed and fried, tossed warm onto a salad.

It's not as good as a breadstick, but certainly does approximate the texture and 'mouth feel' well enough.

LinkWithin Related Stories Widget for Blogs