
When I was very little, I remember sliced apple with cheddar, cream cheese spread on graham crackers, and meat-and-cheese platters on New Year's Eve. I remember a child's salad plate made up like a doll head: a canned pear half head with dried fruit facial features and shredded cheddar hair. And of course there are those Italian favorites: lasagne, stuffed manicotti, cannoli and the ever-present mozzarella-laden pizzas produced on every streetcorner in my hometown.
Clearly cheese has been an prominent player in my life.
I never considered making cheese at home. Then I saw Alton Brown talk about making cottage cheese. Then I joined Great Cook's Community, where some members discussed home cheesemaking. So I gave it a little thought, and I borrowed a book from the library.
Making Great Cheese at Home by Barbara Ciletti is a great tutorial for the beginner, and a few recipes that don't require any specialized equipment, or ingredients.
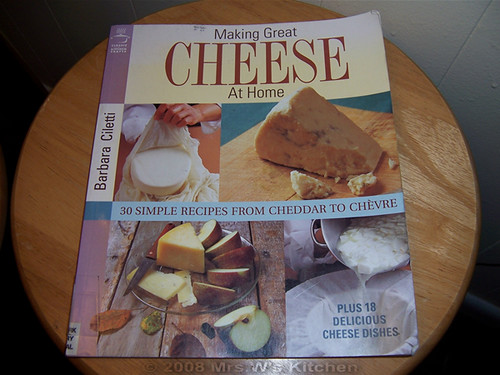
Just what I was looking for.
I decided that my first attempt would be Queso Blanco--a very simple recipe. However, instead of making the full recipe for my first try, I cut it in 4--from a gallon to a quart of milk. Here's what I did.
First, I borrowed a candy thermometer. I bought and hand-washed a new, undyed cotton tea towel (from the dollar store). Then I placed a colander in a large stainless bowl, put my new tea towel inside, then sprayed the interior with canola spray.
In a regular pot with the candy thermometer clipped to the side, I warmed 1 quart of organic, ultra-pasteurized whole milk over medium-low heat, slowly raising the temperature of the milk to 175*F, stirring frequently.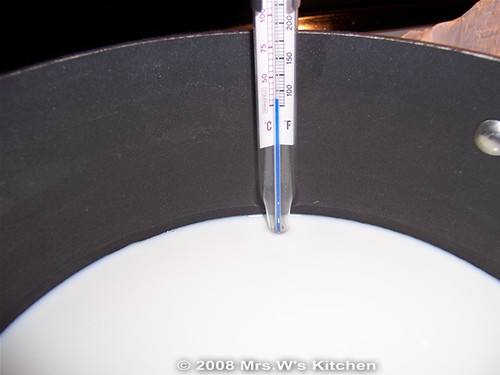
The stirring is important, and I did see bits of skin forming at the top of the milk. I just stirred them back in. I'm not sure if that was correct--the recipe did not address the milk 'skin.'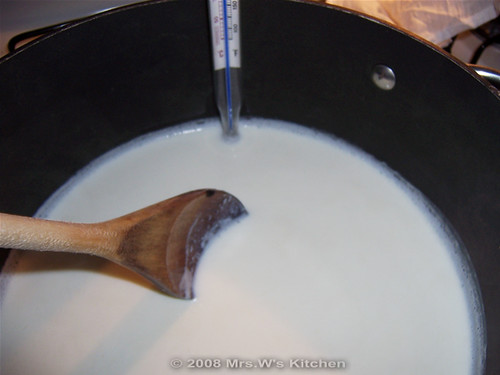
After holding the milk at 175*F for about 10 minutes (still stirring regularly), I slowly stirred in 3 teaspoons of distilled white vinegar. Very few curds formed, even after a good five minutes of stirring. So I added another 3 teaspoons of vinegar and it was like instant magic. The curds came together quickly then.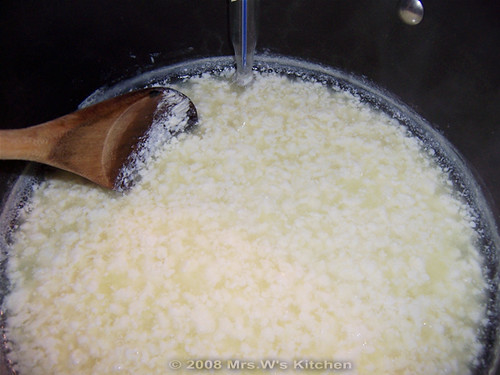
I removed the pot from the heat and poured the whole mess into my prepared cloth-lined colander.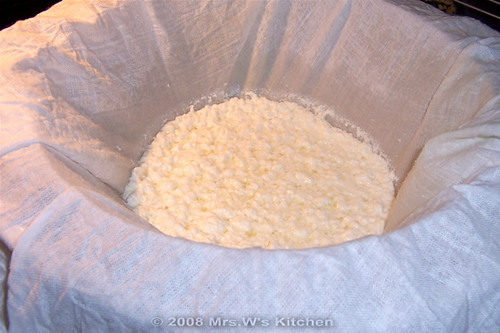
I tied off the cloth into a bag and used chopsticks to support it in a fresh stainless steel bowl for the remaining whey to drain off at room temperature. Meanwhile, I let the whey cool and transferred it to a container in the fridge.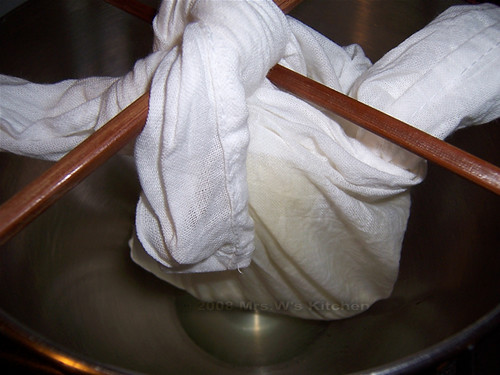
I've read that whey is a good fat-free high-protein liquid to use in recipes--but since I don't make many traditional baked goods (like biscuits or cakes), I'm not really sure what to do with it. Any ideas?
After about 3 hours, the cheese was drained (no more dripping) and fairly dry to the touch. It made about 1-1/2 cups of cheese. However, I wouldn't call it queso blanco. I does not slice at all. It crumbles. It's more of a drained ricotta consistency; the flavor is fresh and sweet.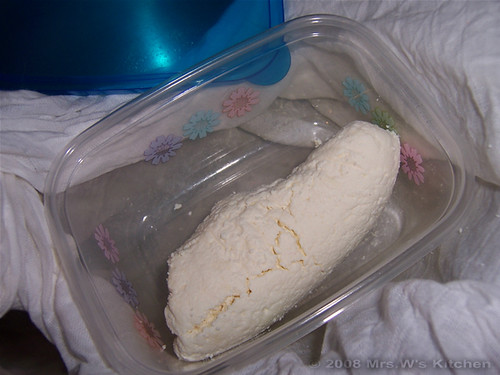
Here are my thoughts:
- The milk I used was ultra-pasteurized, so that may have something to do with my needing to double the vinegar.
- I used white distilled vinegar instead of apple cider vinegar. Could that have turned my project from queso blanco to ricotta?
- By cutting the recipe to suit a quart of milk instead of a gallon, the weight in the bag for draining may not have been enough to compress the cheese enough to form into a sliceable consistency.
- Overall, a good first try, with a tasty, albeit unexpected, result.
If anyone reading has some home cheesemaking experience, I'd love to hear from you, along with ideas about what I might have done wrong.
I used this first batch in a lovely berry granita recipe... I'll post that tomorrow! Meanwhile, I'll post the recipe for the queso blanco, as it's written in the book.
Queso Blanco
from Making Great Cheese at Home by Barbara Ciletti
1 gallon whole goat's or cow's milk
1/4 cup cider vinegar
Heat milk gradually over medium-low direct heat (not in a double-boiler) for 20-30 minutes or until it reaches a temperature of 175-180*F. It's important to heat the milk slowly and stir frequently to prevent scortching.
Hold milk temperature at 175-180*F for about 10 minutes, continuing to stir frequently, lowering heat if necessary. Slowly stir in vinegar until milk acidifies and curds form.
Remove pot from heat. In a sterile basin, place a colander lined with enough cheesecloth or butercloth to tie in a knot. Ladle curds into cloth (retain whey for another purpose).
Tie cloth corners to form a bag. Slice chopsticks or a wooden spoon under knot and hang bag inside an empty milk pot to drain for 3 to 5 hours, or until it stops dripping.
Remove cheese from bag and use immediately or refrigerate in a plastic container. Keeps for 1 week. Makes 1 to 1-1/4 pounds cheese.


12 comments:
What great looking cheese! I always thought it was super complicated to make cheese. (and I know nothing about cheesemaking so the whey and ricotta questions have me stumped.)
We raise goats and I make cheese often. You did a great job!
Ultra pasteurized milk is the culprit..I have a post on baking delights about it..Considering you used the UP milk your cheese came out fantastic!
If you can get some raw milk locally try that, you will be amazed at the difference.
Hello Mrs W!
I think for a first attempt you've done very well. Not sure what queso blanco is supposed to taste like, but reading your recipe, it's very close to the Indian fresh cheese called paneer. I've done this twice, the second time worked out better and could be cut, though still very crumbly. The original recipe was from a TV show and my successful attempt is on my blog.
The ultra pasturised milk would possibly give a slightly different flavour to your cheese and may be give a brownish tinge of colour. Not sure what difference distilled vinegar vs cider vinegar would give, but the curdling is caused by the acidity added to the milk. Cider vinegar may possibly have a milder flavour. I think if you want the queso blanco to go firm and be able to cut it, you'd need to compress it together, either in the tea towel or if you have a mould.
Caramella
Mary--cheesemaking can get really complicated. At least complicated in my book--cultures and presses and rennet tablets... ugh. I love a good kitchen project but I'm just not quite THAT into making my own cheese. But the simple ones--oh yeah.
Ben--thanks, and my pleasure! The book was through my library system (I had to order it) and has been a great introduction.
Marye--I thought it was the UP milk. I'll have to check around to see if I can get my hands on some raw milk. Meanwhile, I did read a recipe that suggested mixing reconstituted dry milk with heavy cream for a better milk-for-cheesemaking. That'll be my next experiment!
Caramella--WOW! What great info! I wasn't sure what paneer was supposed to be. Queso blanco is supposed to be a white, pressed soft cheese (sort of the consistency of mozzarella) that is sliceable and frys/cooks without melting; it tastes very mild and lightly salted. So that's sort of what I was looking for, though I was happy with what I got. I'm heading over to your blog now to check out your cheese.
I love cheese Amanda, and specially ricotta, I would like try this, look so nice!!! xxGloria
Gloria--if I can do it, you can do it. It was really easy!
I am so glad you posted this. The idea of making my own cheese has been rumbling around in my head for a few weeks. I think I will do like you and try it soon.
Hey, Kristy! Thanks for stopping by!
I would encourage you to try it. The book sorta scared me at first with all the suggestions for specialty equipment, but after thinking about it for a while I decided that I could use a plain ole candy thermometer and a regular tea towel. (I hate, hate, hate working with cheesecloth. It's so... unravelly!)
I'd love to hear how your batch turns out when you do try it.
I have had a total hankering for making my own mozzarella balls for ages, but I am afraid, which is silly really. You have inspired me to give making my own a go.
I really enjoyed your post and your blog is great. I look forward to your posts.
Cheers
Amelita
Well thank you, Amelita. I'm sure you can do it! You'll have to let me know how it turns out.
Good for you Mrs. W.for venturing into cheese making. I have yet to follow my blog sister Ivy into making Halloumi. I found the rennet required, but just have to take the time:D
You should try! I bet you'll do a great job.
Post a Comment